Showing posts with label organizing. Show all posts

Tuesday, March 29, 2011

Linen Closet

I decided to work on the linen closet first, because it would help me with the laundry closet and the guest room.

I started by pulling out all of the towels and putting them on our bed. I thought if I put them on the bed, I'd be motivated to finish.


I told you it was a lot of towels! We have a king size bed, and it was covered!


Another angle - I counted, and we have almost 50 bath towels (not counting hand towels, washcloths, or beach towels). That's just a few too many for two people.


I decided to box up the bright and pretty ones, because those are my favorites, and I think those will make me the happiest when we un-box them. I kept out the brown ones that we chose to go with our hall bathroom and all of our old towels that we had before we got married.


The closet looks a lot better. We have a manageable number of towels in there now. I also pulled out a few sets of sheets to donate to Goodwill. We have enough for when guests come, and we don't need more than that! There is also room again for extra blankets on the top shelf. I managed to clean out three stacks of towels and some blankets that were in the guest room.


I added a shoe organizer to the back of the door. It's loaded with an assortment of things that were previously in the laundry closet. By using the space behind the linen closet door, I'll have room for more stuff in the laundry closet.


3 Projects

I have three projects on my to do list that I would like to finish over the course of the next couple of weeks. 1) I'd like to clean out our laundry closet so that only laundry supplies are left, along with empty shelves that I can use to store stockpile groceries and toiletries as I find good deals on them. 2) Our linen closet is a little out of control, partly because we have so many towels (there are 3 stacks of towels in the guest room). I'd like to put some of the towels in storage and straighten up everything on the shelves. 3) I'd like to make the guest room a place where guests feel comfortable and welcome. At one point, we had the guest room cleaned out enough that someone could sleep in it. Then we started using it as a dumping ground for anything that didn't have a permanent home. The following pictures show you the chaos. :O)

Saturday, March 26, 2011

Organizing My Coupons

I aspire to be a great couponer. For some, that isn't a big deal. For others, you know being a great couponer could mean the ability to save our family a lot of money over the years. Having a good organizational system for coupons is a key element in my goal to be a great couponer.

For a while, I kept my coupons in a 3-ring binder. Rather than clipping all of the coupons from the inserts each week, I just punched holes in the inserts and put them in a binder. When planning my trips to the grocery stores and pharmacies each week, I use southernsavers.com. She matches coupons up with the sales each week. When she matches up the coupons, she mentions the insert containing the coupon. That's the only way the 3-ring binder system worked for me so long. I liked it because it saved me a lot of time by not clipping coupons I didn't end up using.

I decided a few days ago that it was time to change systems. It took a few days, but I'm all set and ready to go now. I bought a plastic container and alphabet dividers. I put an envelope behind each divider (I cut the flaps off). Then I filed the coupons by brand. Pretty simple.

The other thing I did was file my coupons electronically using an Excel spreadsheet. Now when I'm making my shopping lists using Southern Savers, I can search my spreadsheet to see if I have the coupons before I start digging through my box. It my seem like a lot, but I'm hoping it will save me a lot of time as I'm making my lists each week. Yes, it's more time on the front end, but I decided I'm more interested in saving time on the shopping list end.


Friday, March 25, 2011

Flip It-Fold It

Joseph gave me a very practical gift for Valentine's Day this year, a Flip It-Fold It. Because it was something I've wanted for years, I was totally OK with receiving a practical gift. The fact that Joseph remembered I wanted it was romantic. :O)

Valentine's Day was well over a month ago, and I just used this wonderful gift for the first time today. It wasn't at all because I didn't want to use it. It was because I knew I wanted to refold everything using it rather than just starting with the laundry.

Today worked out to be a great day to get started with Joseph's two t-shirt drawers. I'm going to share the excitement with you using step by step photos! Aren't you so excited?


I hadn't even taken it out of the box yet! I love opening things for the first time!


This is what it looks like, all ready for something to fold!


Start by placing the shirt with the front down (the back of the shirt will be facing you). If the shirt is longer than the folder, fold the bottom of the shirt so that it's flush with the bottom edge of the folder.


Flip the left side.


Then flip the right side. (If you have any excess sleeve hanging over the edge, flip the left side again.)

Then flip up the middle.


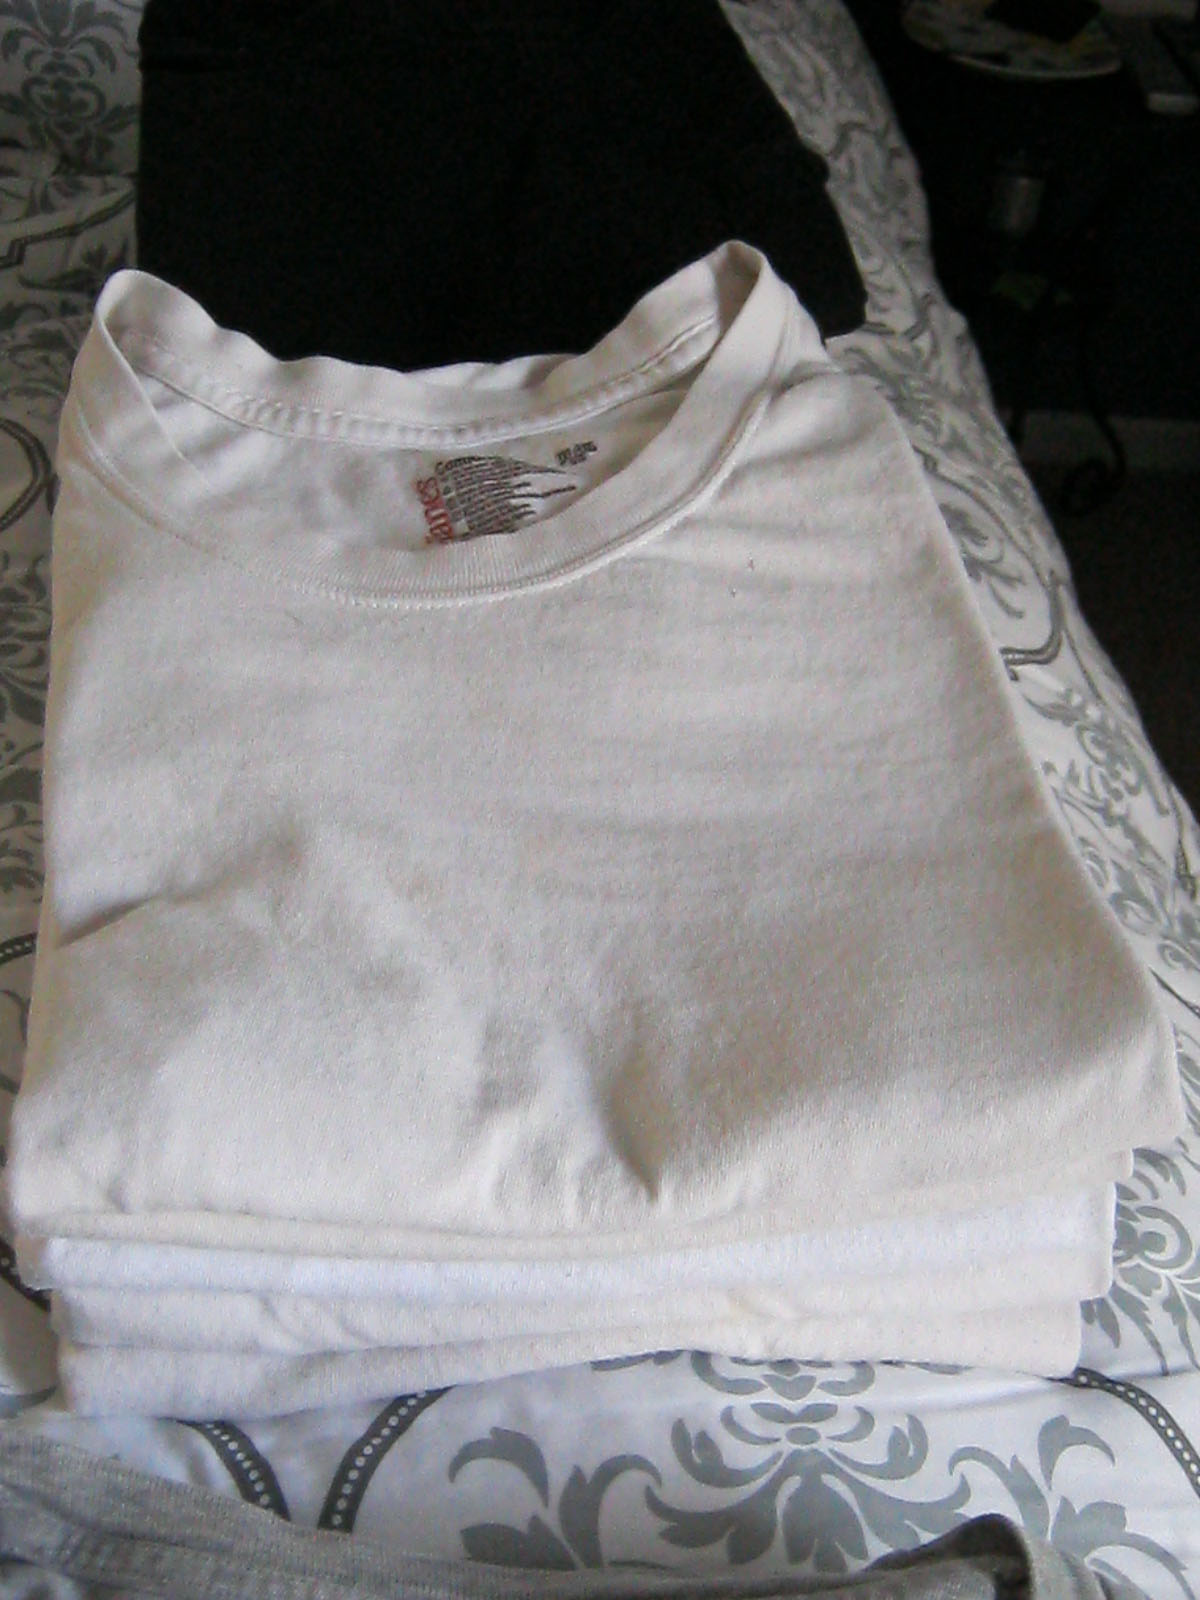
You end up with perfectly folded garments that are all the same size and stack neatly.

Isn't that beautiful?

Look how neat they look in the drawer!
Love it! There was enough room left behind the t-shirts that Joseph's shorts will fit there as well. Yay!

Joseph, thank you for showing your love to me through a practical gift that made doing laundry a lot more fun! I love you!

Saturday, September 13, 2008

Mini Makeover

I moved into my apartment back in May. I consolidated from a two-bedroom down to a one-bedroom. In order to make things fit and work best for me, I opted to sell my dining table and chairs so I could use the dining room more like an office (I have bar stools and a couch ... so I'm good for a place to eat). Since I moved in, the office area has been extremely cluttered and extremely annoying to me. So, I did a mini makeover on it. I thought I'd share the before and after pictures with you. I still need to take care of the window treatment. It's certainly not staying the way it is in the after picture!


Before (This picture was actually taken on a super neat and clean day; imagine things MUCH worse):


After:

OK, so I know it doesn't look THAT different in the pictures, but it really looks a lot better, and it doesn't frustrate me when I walk in the room anymore. Woo hoo! :O)